Satisfactory Update 1.1
Satisfactory Update 1.1
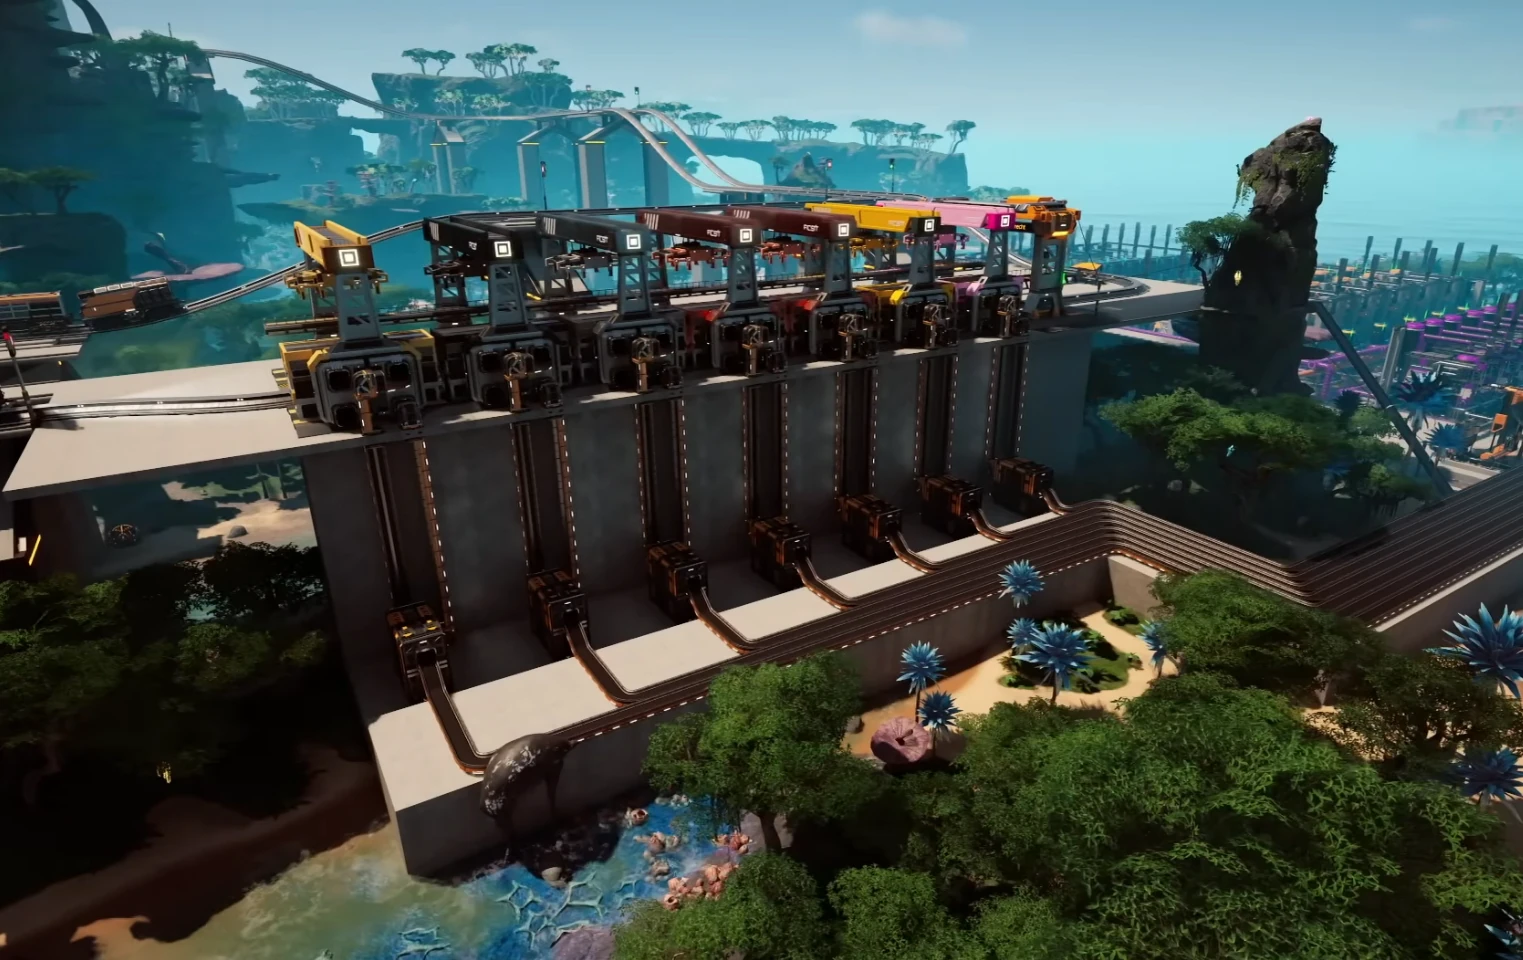
Satisfactory’s 1.1 update officially went live on June 10, 2025, bringing a ton of features, quality‑of‑life enhancements, and polish that veterans have been waiting for. Here’s everything you need to know—from new traversal tools to fresh visual flair, and even localization goodies.
🇺🇸 Jump to specific sections
- Full Controller & Steam Deck Support
- Revamped Photo Mode
- Crash Site Dismantling
- Personnel Elevator
- Advanced Game Settings & No‑Fuel Option
- Trains & Railway Improvements
- New Logistics & Conveyor Tools
- Hypertube Upgrades
- New Architectural Pieces
- Quality of Life Enhancements
- Visual & Audio Overhaul
- Dedicated‑Server & Modding Notes
- Localization & Narrative
🎮 1. Full Controller & Steam‑Deck Support
Probably the biggest addition in 1.1: **full native controller support** for Xbox and DualSense™ controllers on PC. Just plug in your pad, navigate to:
Options > Controls > General > Select Controls > Controller > Apply
On Steam Deck, Satisfactory now auto‑detects controller input and switches UI/input modes accordingly. This comes after years in development alongside Fishlabs, as part of console prep :contentReference[oaicite:1]{index=1}.
This opens the door for comfy couch‑style factory building—keyboard/mouse you can put away!
📸 2. Overhauled Photo Mode
The Photo Mode got a major facelift:
- New UI, filters, film-like effects, adjustable lens settings
- Pose options, frames, colour tweaks, crop/grid overlays
- Camera decoupling from Pioneer avatar, helmet tracking
- Dolly mode for smooth pan, zoom or video‑style shots
- Toggle vehicle HUD for cleaner screenshots :contentReference[oaicite:2]{index=2}
Perfect for sharing epic base builds or cinematic mech walks on socials.
💥 3. Ace the Crash Site Dismantle
Ever left crash‑site debris scattered forever? Now you can:
- Open the hard drive at a crash site, then fully dismantle the wreckage
- Recover extra basic resources—iron, concrete, screws, etc.
Great for tidying up once a biome is thoroughly explored :contentReference[oaicite:3]{index=3}.
🛗 4. Personnel Elevator
Large factories, rejoice! The new **Personnel Elevator** lets you build a shaft and add multiple “floor stops” to travel between factory levels like in an office building.
Features include:
- Custom floor names, icons and color-coded call‑buttons
- A slick vertical zoop for quick traversal
An early design shown in a dev video even includes Pioneer helmets inside the elevator :contentReference[oaicite:4]{index=4}.
⚙️ 5. Advanced Game Settings: No‑Fuel Mode
For those who build for the joy of building, the all‑new **No‑Fuel** option in Advanced Game Settings removes the hassle of fueling vehicles—no more crafting gas or plugging in power for your trucks or trains :contentReference[oaicite:5]{index=5}.
This is a nice way to streamline travel-focused playstyles.
🚆 6. Trains & Railway Overhaul
A. Buffer Stops & Derail Prevention
Manual train‑driving now includes realistic dynamics—if you reach the end of track without a **Buffer Stop**, the train derails, requiring manual reset :contentReference[oaicite:6]{index=6}.
B. Signal Placement
You can now place Path and Block signals on either left or right track edges—and toggle side with the hotkey R :contentReference[oaicite:7]{index=7}.
C. Reworked Rails
Track-building got more intuitive and flexible—smoother autobends, improved snapping mechanics to help your railway layouts :contentReference[oaicite:8]{index=8}.
📦 7. New Logistics & Conveyor Tools
Several conveyor & pipeline improvements landed in 1.1:
- Conveyor Wall Hole: belt pass-through holes in walls/windows
- Conveyor Lift integration: Splitters & Mergers now attach to lifts
- Priority Merger: choose primary and secondary inputs with round-robin fallback
- Throughput Monitor: belt-mounted display measures flow rate per minute after calibrating
- Pipeline Build Modes: ‘Straight’ mode adds aligned pipes; ‘Curved’ for bent pipe sections :contentReference[oaicite:9]{index=9}
These give better resource routing control and more polished factory aesthetics.
🚀 8. Hypertube Junctions & Branches
The hypertube transit network also received upgrades:
- Hypertube Junction: allows three-way switching; approach and press
Eto choose your path - Hypertube Branch: splits one tube into two separate paths
- The flashlight actually works inside hypertubes now 🎉 :contentReference[oaicite:10]{index=10}
These give more modular and cinematic travel possibilities for your bases.
🏗️ 9. Fresh Architectural Pieces
The AWESOME Shop got a slew of stylish new buildables:
Beams & Supports
- H‑Beam
- Shelf Beam
- Round Concrete Beam
- Braided Cable & Braided Cable Cluster
Miscellaneous Decor
- Roll‑Up Gates (FICSIT, Concrete, Steel)
- Road Barrier Corners
- Basic Shelf Unit
- Large Vent & Large Fan
These allow for great thematic fidelity and visual polish in industrial builds :contentReference[oaicite:11]{index=11}.
🔧 10. Quality‑of‑Life Improvements
- Blueprint Auto‑Connect (press
Rto snap conveyors, pipes, rails) - Hide HUD while on vehicles or in Photo Mode
- Soft‑clearance for conveyor poles & pipeline supports
- Vertical nudging via
Page Up/Down& removed distance caps :contentReference[oaicite:12]{index=12}
These small additions pack a big punch in everyday usability.
🎨 11. Visual & Audio Overhaul
Visual Enhancements
- Trees now have physics-accurate falling animations
- VFX overhauls: spore plumes, gas pillars, explosive rebar, Nobelisk blasts, Power Slug pickups :contentReference[oaicite:13]{index=13}
Audio Improvements
- Dynamic occlusion system: factory sounds are muffled behind walls; different materials… different acoustics
- Indoor vs outdoor acoustic detection—echoes, tight‑space reverbs, metallic clangs
- Voice chat volume attenuation based on distance and environment :contentReference[oaicite:14]{index=14}
These combine to create a richer, more immersive world to explore.
🖥️ 12. Dedicated‑Server & Modding Updates
Server: Port Forwarding Options
- Explicit port range options: `ReliablePort`, `PortRangeBegin`, `PortRangeLength`, `ExternalPortRangeBegin`
- Clients now auto‑detect correct ports—easier NAT traversal :contentReference[oaicite:15]{index=15}
Modding
- Deprecates FGBlueprintOpenConnectionManager header; consult docs for mod updates :contentReference[oaicite:16]{index=16}
🌍 13. Localization, Narration & Bug Fixes
Localization
All official and community translations have been refreshed, and Ukrainian is now officially supported—shoutout to UnlocTeam :contentReference[oaicite:17]{index=17}.
Narrative
Additional ADA voice lines have been added throughout the game, enriching dialogues across both new and existing content :contentReference[oaicite:18]{index=18}.
Bug Fixes & Optimizations
- Foliage replication improved for large save‑files
- Lightweight buildables optimized
- Customizer fixes and better multiplayer stability :contentReference[oaicite:19]{index=19}
Check out Steam’s dev video or PatchBot log for more detailed fixes :contentReference[oaicite:20]{index=20}.
TL;DR Summary
- ✅ Full Xbox & DualSense controller support + Steam Deck default
- 📸 Photo Mode overhaul: filters, poses, dolly, HUD toggle
- 💥 Clean‑up crash site wreckage post‑hard‑drive grab
- 🛗 Build and customize vertical Personnel Elevator shafts
- ⛽ No‑Fuel mode for vehicle-free travel
- 🚉 Train buffer stops, derail prevention, signal flexibility
- ⚙ Logistics enhancements: wall-hole conveyors, priority merger, throughput monitor, pipe modes
- 🚀 Hypertube junctions, branches, and flashlight support
- 🏗️ New beams, cages, vents, gates, and decor items
- 🧱 QoL: blueprint auto‑connect, vertical nudging, vehicle HUD toggle
- 🌳 Visual/audio polish: falling trees, improved VFX, dynamic audio occlusion
- 🖥️ Better port settings on servers, plus mod interface adjustments
- 🌐 Narrative voice lines + Ukrainian localization
- 🛠️ Performance & bug smoothing across the board
All in all, Satisfactory 1.1 stands as one of the most feature-rich updates in the game’s history—delivering meaningful tools, creative polish, and thanks to community testers, stability. If you’re a build‑lover, content creator, or longtime fan, this update is a must-download.
Want developer insights? Check the Steam dev-post explaining the “year’s worth of work” and check the dev video for visuals :contentReference[oaicite:21]{index=21}.


