
Satisfactory Factory Planning Blueprint: Clean & Scalable
Satisfactory factory planning is the difference between a clean megabase and a late-game spaghetti maze. This guide distills thousands of build-hours into a repeatable blueprint you can reuse for any goal tier without losing momentum.
Satisfactory factory planning blueprint at a glance
- Pick the end items and rates first so every belt, train, and recipe ladder has a purpose.
- Cap raw inputs (e.g., 900 plastic, 450 iron, 450 coal, 300 caterium) to force simple, balanced chains.
- Lay out stations and a straight bus before placing machines; avoid crossovers wherever possible.
- Block the floor with foundations and paint to claim space for each sub-factory.
- Use blueprint manifolds for repeaters (wire, cable, screws) and keep logistics under the floor.
- Power and test each compartment before linking the whole system.
Start with the end item and rates
Satisfactory factory planning starts with a finish line. Choose the parts you need and lock in a rate. For a balanced late-game push, 1.5 assembly director systems per minute plus 2 supercomputers per minute is plenty, and it maps back to predictable ingredient counts. With those outputs defined, work backwards: automated wiring, circuit boards, steel frames, quickwire, and plastic all get a clear target.
Use a calculator like Satisfactory Tools or a spreadsheet to step through alternate recipes. Coated iron plates, steel screws, fused quickwire, plastic AI limiters, and silicon high-speed connectors shrink machine counts and make bus balancing easier. If a resource spikes above a miner or belt tier, cap it and retry the mix.
Pick the site and logistics spine early
Satisfactory factory planning works best when location comes first. Scout the map for a cluster that hits your bill of materials: iron, copper, coal, limestone, caterium, quartz, and an oil or plastic source. Water flats next to existing rail are ideal; you get wide pads without terrain fights. Stage your train stops in resource order (quartz, caterium, dual copper, iron, coal, limestone) so your main bus can run straight without ducking lines. Keep plastic on a parallel lane feeding computers and circuit boards.
Keep travel simple too—link the new build into your existing network, even if it is just a temporary loop back to supercraft.host for storage and testing. A tidy spine beats heroic belt runs across the map.
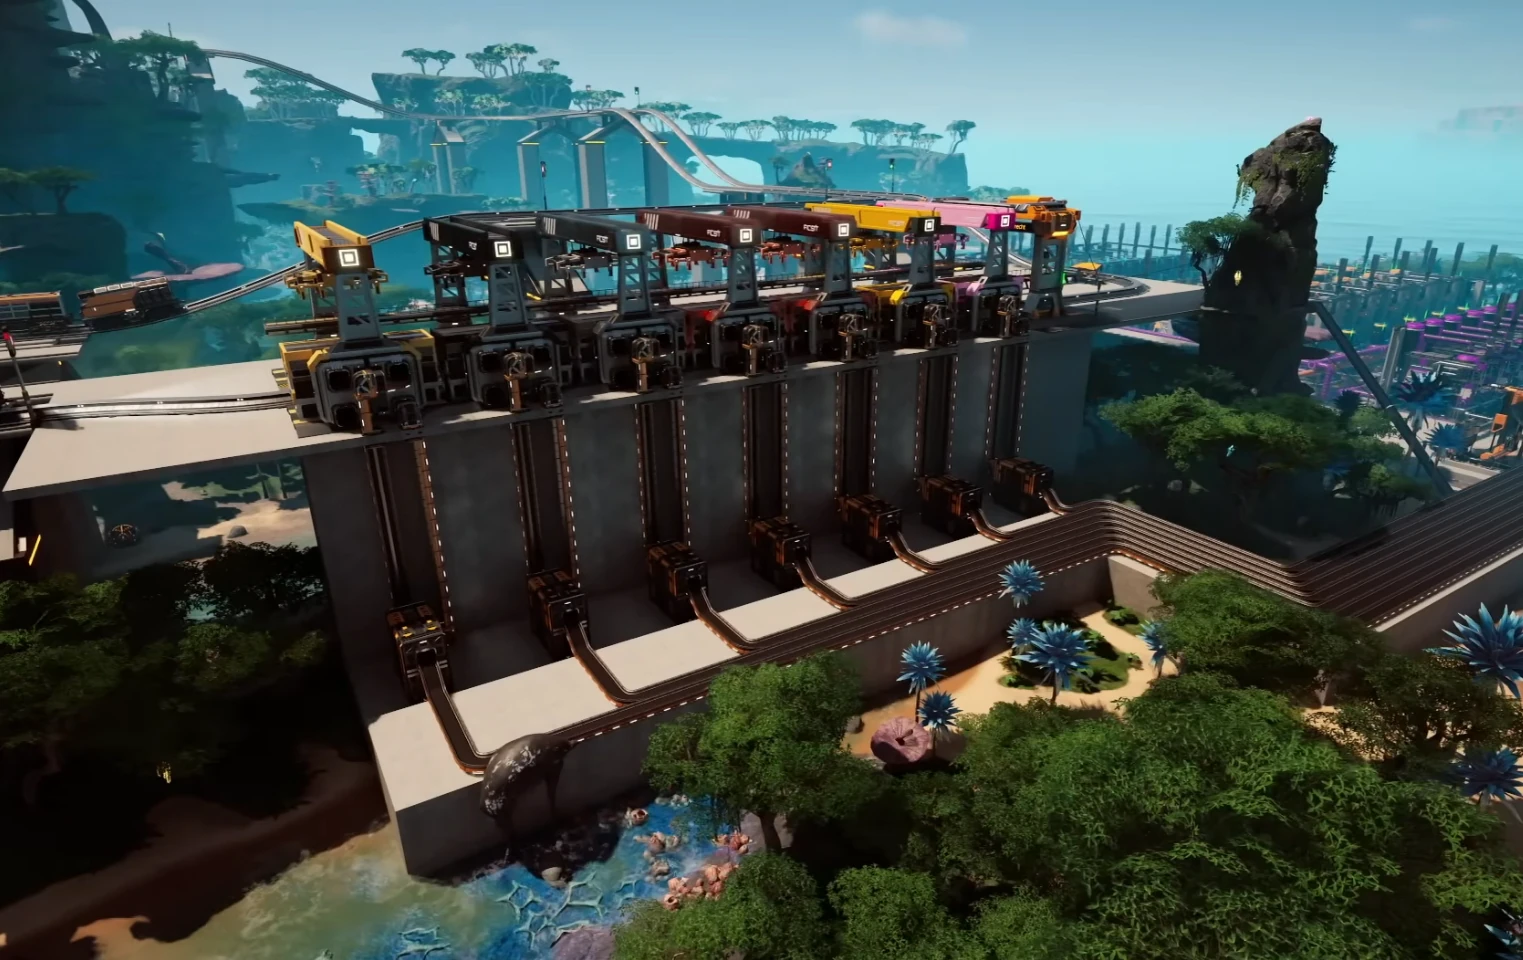
Block the floor before machines
This is the part of Satisfactory factory planning that prevents burnout. Drop a 5×5 or 6×6 grid across the water and paint zones for each stage: concrete, steel pipes and beams, encased beams, reinforced plates, circuit boards, cable, high-speed connectors, computers, supercomputers, and the final assembly director line. Give every block at least one tile of breathing room so lifts and mergers can pass without last-minute reroutes.
When you know a chain will be heavy—like 35 copper smelters feeding 18 cable constructors—stretch it first, then fill gaps with lighter steps such as silica or AI limiters. The block map becomes your checklist and keeps the project from ballooning.
Use blueprints, manifolds, and underfloor logistics
Satisfactory factory planning also means protecting your time. Save a plain constructor manifold blueprint and reuse it for wire, cable, screws, and silica. Swap the recipe in the designer, stamp it down, and move on. Overclock a single machine per line instead of adding a whole second row when you only need a small bump.
Route everything under the floor with lifts and floor holes so the production deck stays open for walking, signage, and lights. Keep plastic, quickwire, and circuit boards on dedicated bus lanes; only branch when you hit a block. Add a sink on the first belt past each block as a fail-safe to eat overflow while you dial in ratios.
Power checks and safety
Plan power alongside the layout. Daisy-chain refineries with wall outlets, run one trunk per block, and label every feed. Before you seal the floor, run a staged start-up: energize concrete and steel, confirm encased beams and modular frames, then light up circuit boards, computers, and finally supercomputers and assembly directors. Throughput monitors and buffer checks catch mis-set recipes long before the whole plant stalls.
Example flow for this build
Here is how the numbers line up when you follow this Satisfactory factory planning approach:
- Inputs: 900 plastic, ~1,030 copper, 450 iron, 450 coal, 260 caterium, and 80 quartz per minute.
- Core lines: 6 constructors for concrete; 10 foundries for steel; 35 copper smelters split into wire and cable; 16 assemblers for caterium circuit boards; 12 manufacturers for computers; 4 for high-speed connectors.
- Outputs: 10 computers, 2 supercomputers, 1.5 assembly director systems per minute with clean underfloor logistics.
- Placement order: lay stations and bus, stamp smelters, add constructors by block, run lifts, place manufacturers last, then power-test per block.
Keep it fresh and scalable
A good Satisfactory factory planning loop keeps you building instead of firefighting. Once this line is stable, mirror the blocks for a second train bay, or slice the bus to feed other late-game parts. Because every block is compartmentalized and powered cleanly, you can redecorate or expand without tearing up the spine.