Necesse Server Hosting that keeps co‑op smooth and saves safe
Launch a dedicated Necesse server in minutes with fast autosaves, stable performance, and easy mod management. We handle the ops so your crew can focus on progress.
- Low latency regions
- Fast autosaves
- FTP access
- Region switching
- Private servers
- Branding-free servers
- On-demand backups
- Helpful support
- 2-Day Refund Policy
- Uncapped RAM
- User-friendly control panel
Pick a plan
Choose a plan based on player count and mod load.
Launch instantly
Provision your world and set your rules.
Invite your crew
Share the IP and scale without wipes.
Plan S
$600
/ per month
Up to 8 Players
A lean, reliable Necesse plan for small co-op groups and casual play.
Plan M
$1200
/ per month
Up to 16 Players
Balanced for larger co-op crews, active worlds, and modded runs.
Plan L
$2000
/ per month
Up to 32 Players
The best choice for large groups, long-running worlds, and heavy mod stacks.
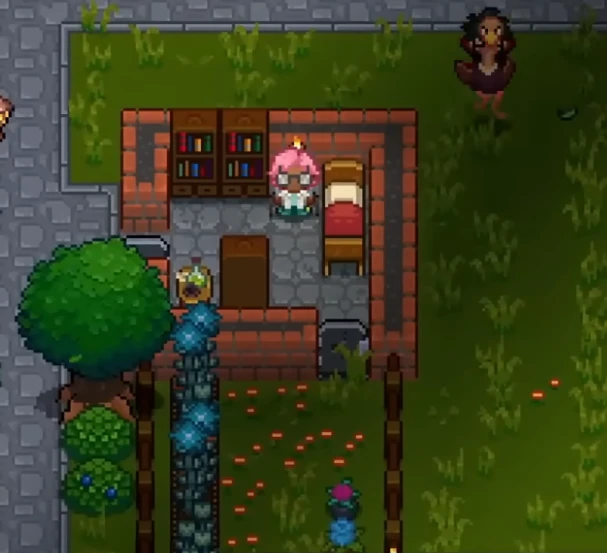
Worlds that stay safe
Keep your world secure with reliable autosaves, backups, and quick restores. Upload worlds and mods from the control panel and keep everything organized as your server evolves.
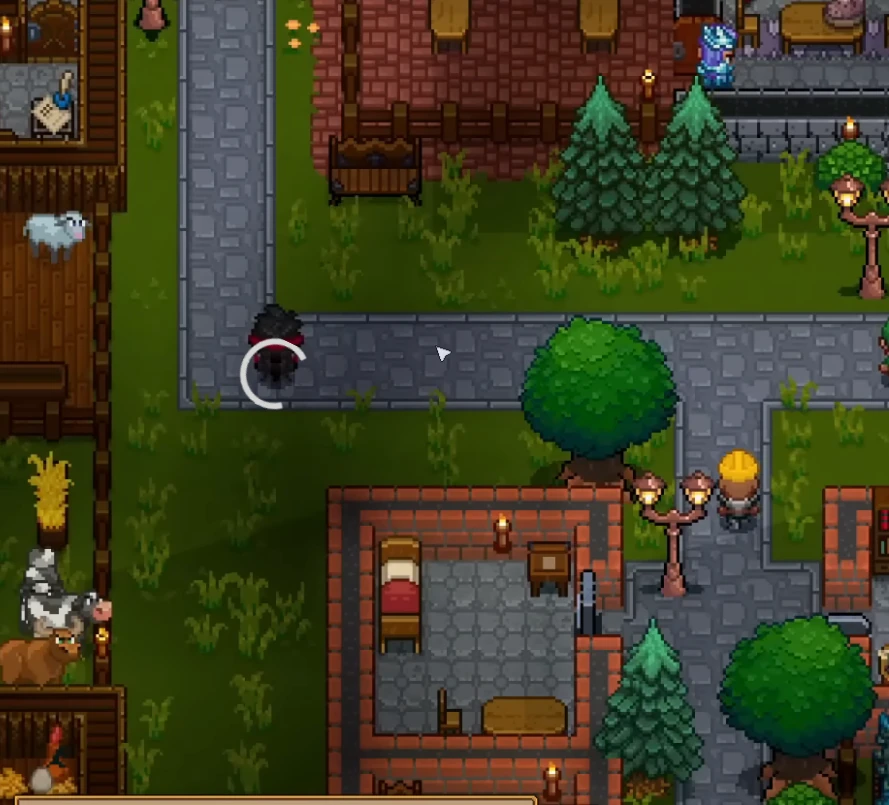
Co-op friendly by design
Play with friends across regions, build together, and scale your base without hiccups. Choose the closest region for low latency and move later without wiping progress.
Mods and custom content
Add quality-of-life mods, balance tweaks, or new content packs. Upload mod jars and swap them anytime with a simple restart.
World uploads support .zip saves, and the panel can list available worlds for quick switching on your Necesse dedicated server.

Self-Serve Bot in Discord
Instant control of your Necesse server without tickets or waiting. Type a command and go.
- Start, stop, restart, and check status in seconds.
- Secure by design: only your subscriptions are accessible.
- Share access safely with time-limited auth codes.
Fast, secure, and always on.

Latest Necesse Guides & News
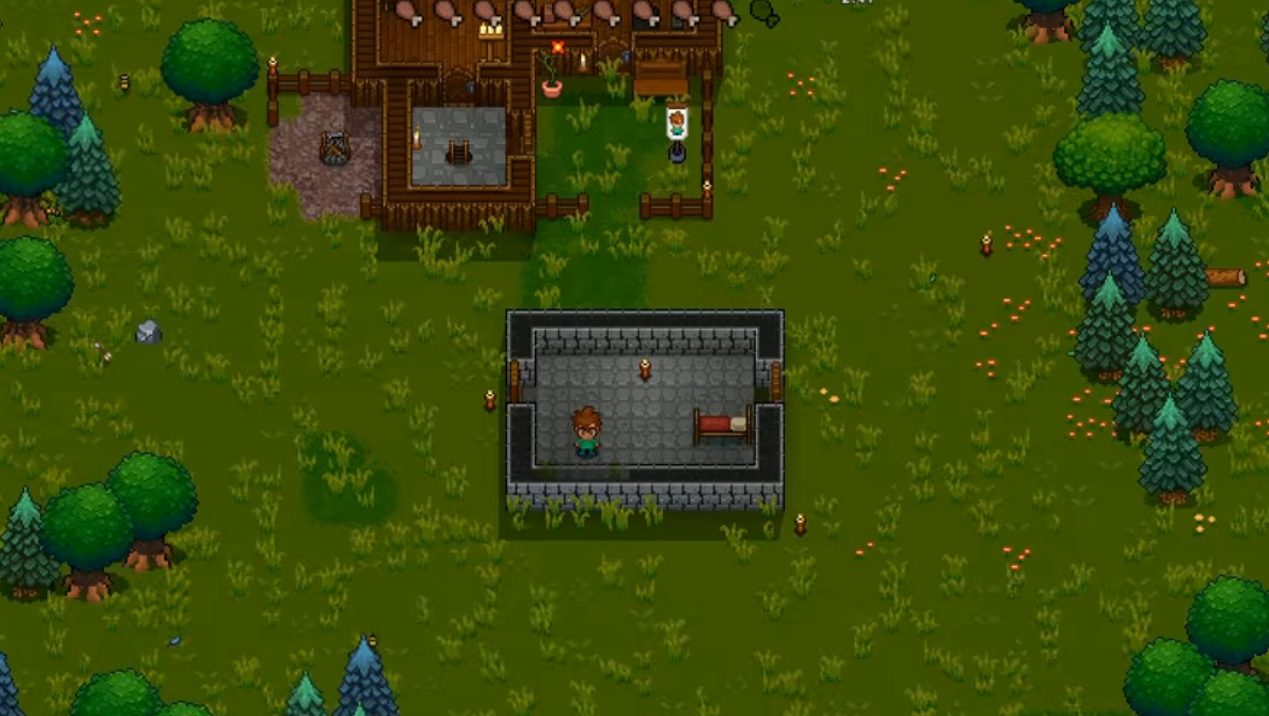
Necesse Server Setup Guide
Get your Necesse dedicated server up and running quickly.
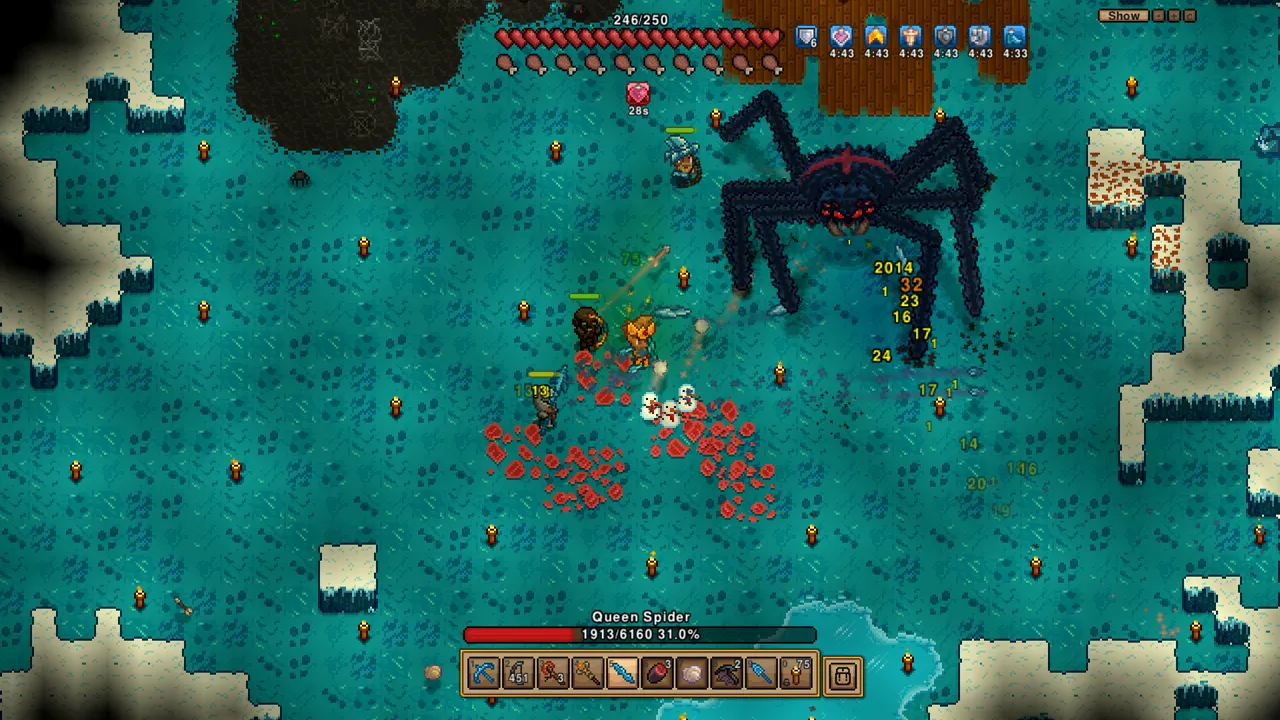
Boss Progression Order: Strategies & Key Loot
Defeat bosses in the optimal order with strategy tips and loot tables.
Necesse Admin Commands
Permissions and console commands for server administration.
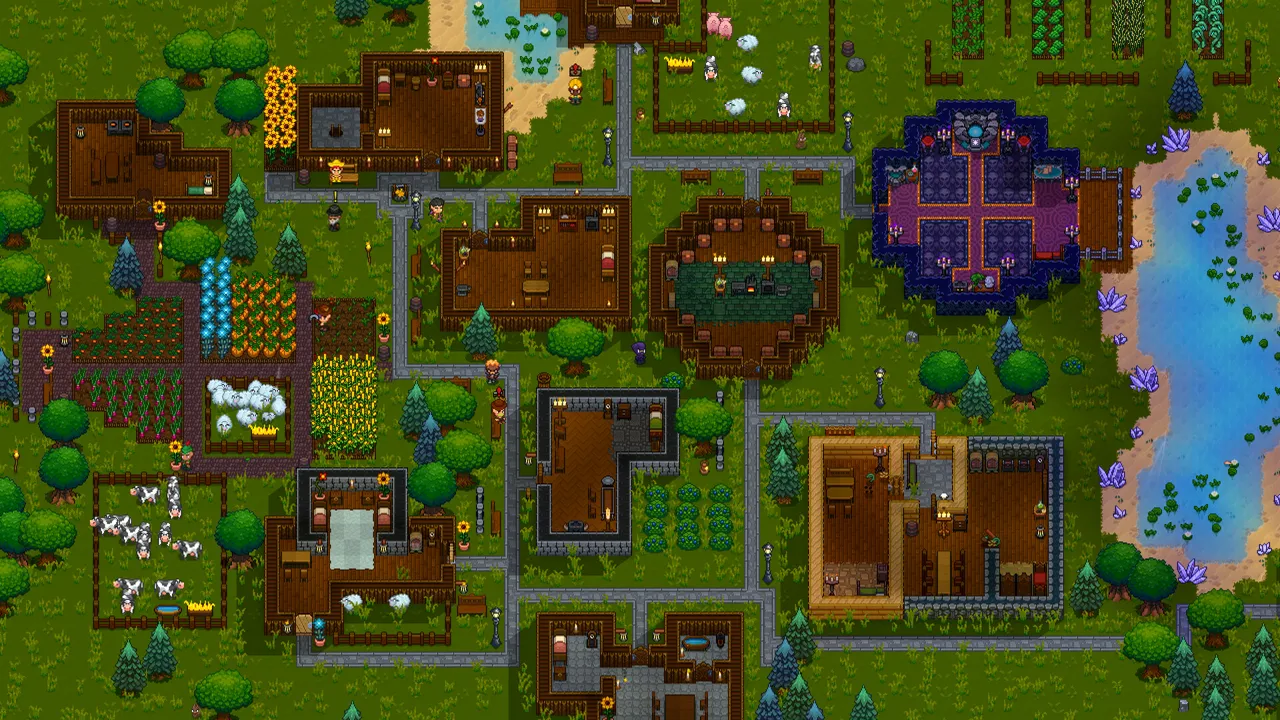
Settlement Guide: Automation & Villager Management
Build thriving settlements with automation and villager systems.
Dungeon Exploration & Loot Guide
Navigate dungeons and find the best treasure loot.
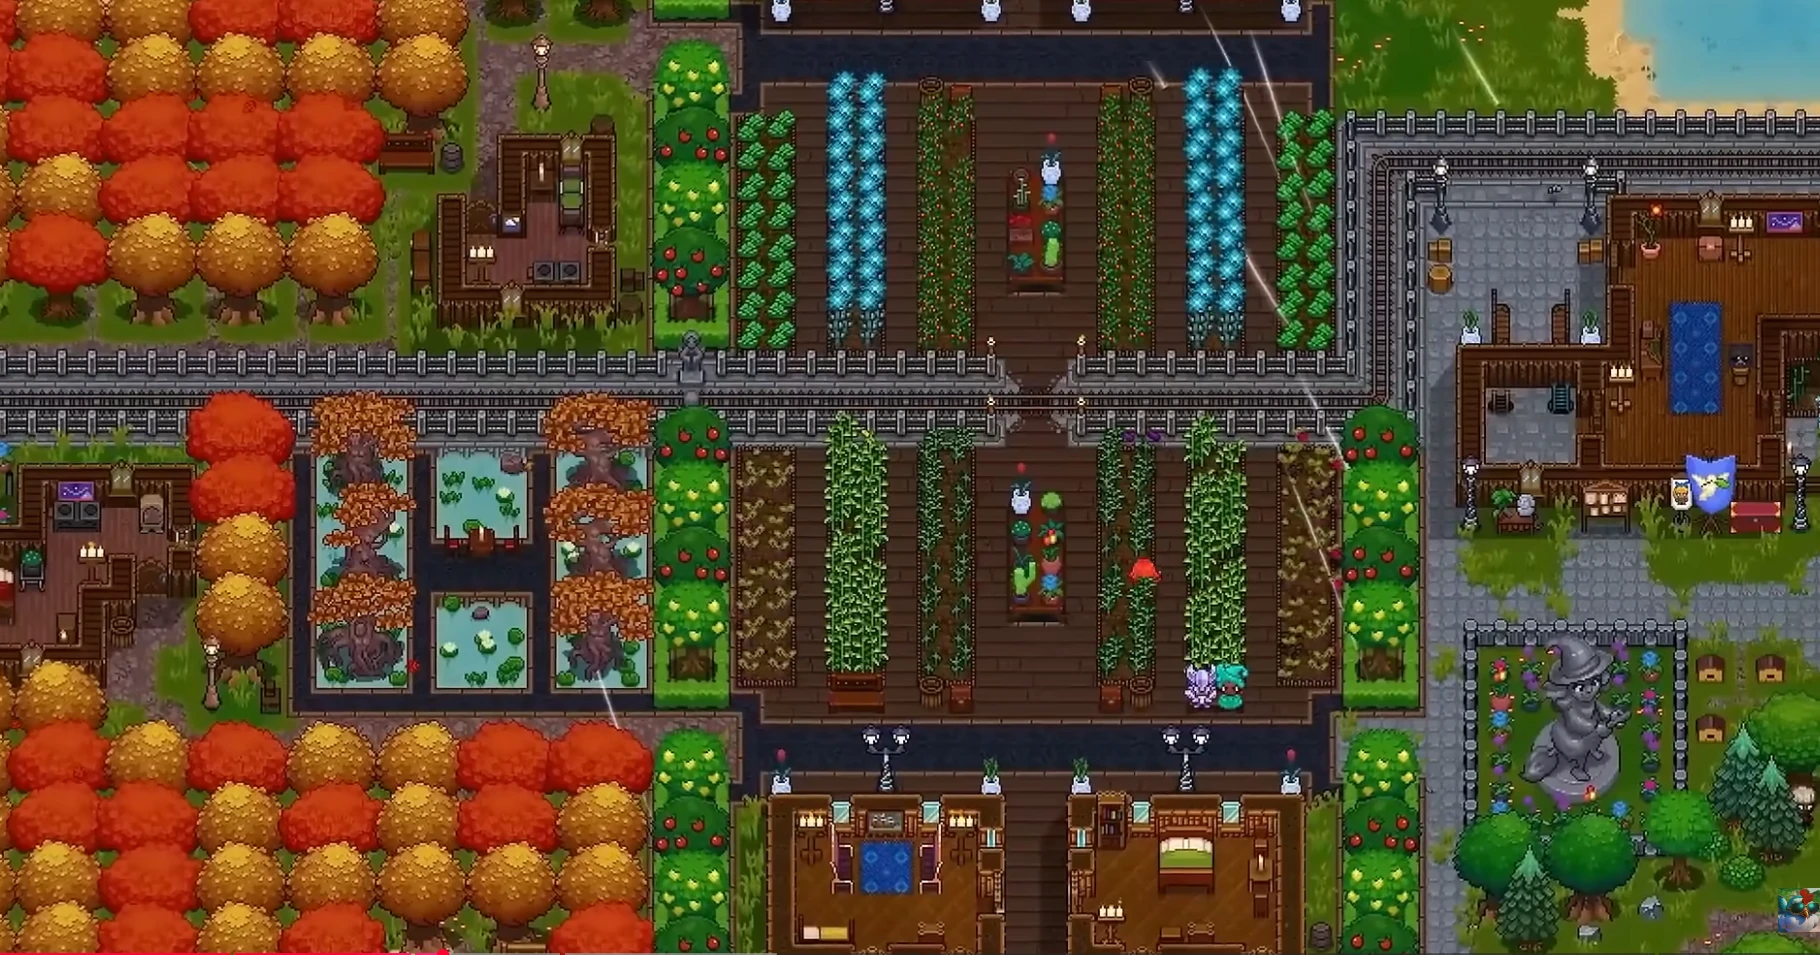
Automation & Factory Systems Guide
Optimize your settlement with advanced factory and automation systems.
FAQ
- Install via SteamCMD:
steamcmd +force_install_dir ~/NecesseServer +login anonymous +app_update 1169370 validate +quit - Forward the game port you choose on your router.
- Start the server:
./StartServer-nogui.sh -port 14159 -world MyWorld -datadir ./save